01.2 — Getting Started
Creating Your First Agent
Six steps from an empty workspace to your first AI-generated answer, grounded in a real document. Follow this once and the rest of the manual will make sense by reference.
-
Create the agent
Click New agent in the sidebar, give it a name and a short description
of what it should extract, classify, compare, or validate. The description is just for
humans browsing the catalogue later — it isn't sent to the AI.
2.1
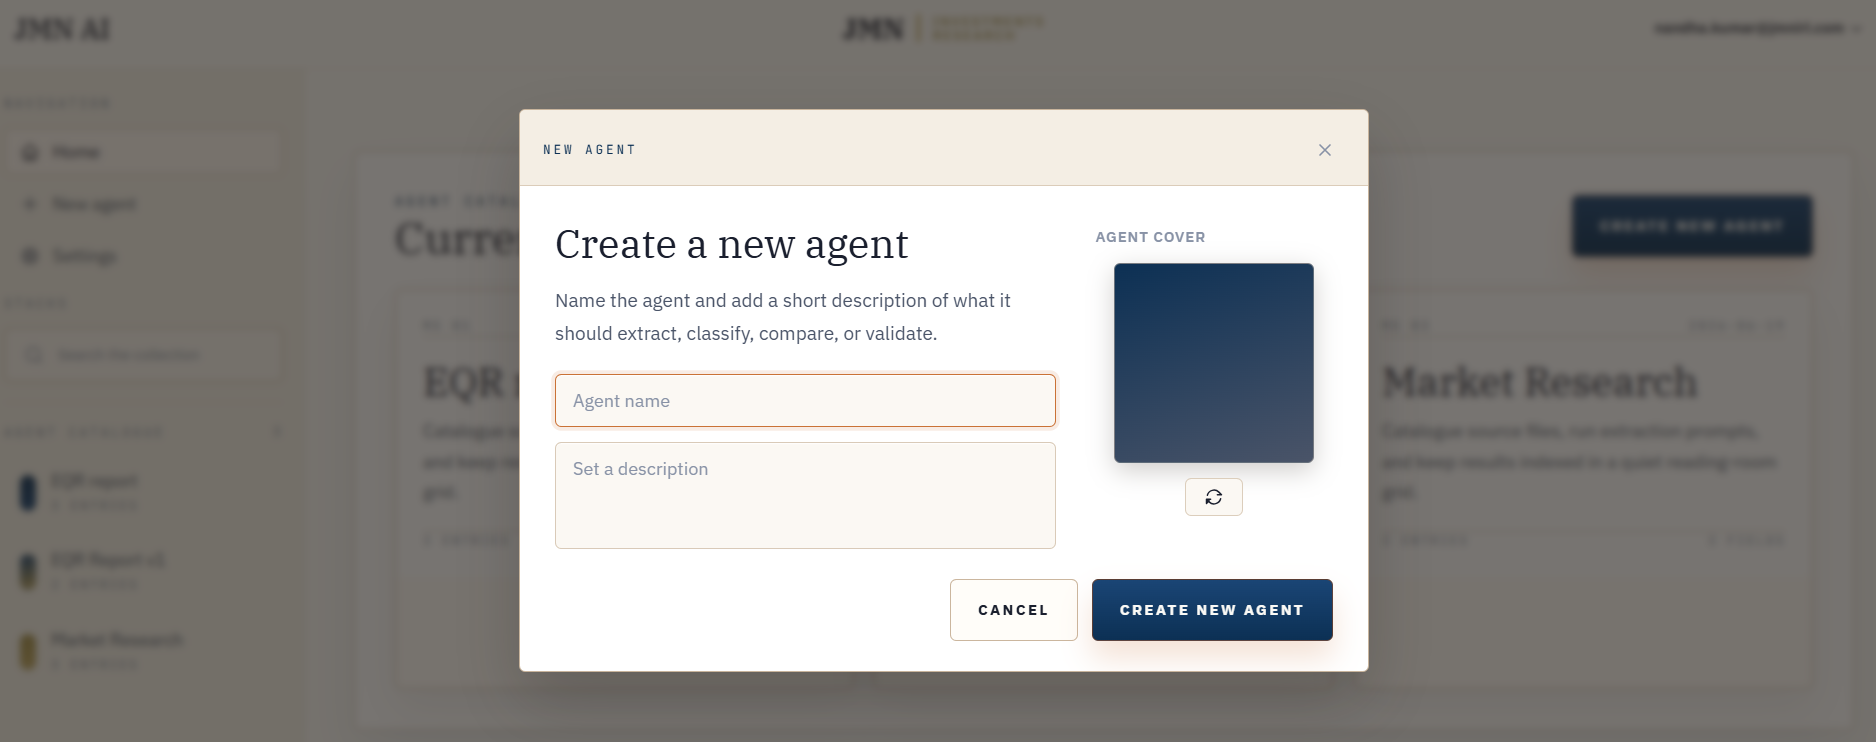
FIG. 2.1 — The "Create new agent" dialog.
-
Add an input property
This is your first column, and it should be a file. Click Add property,
set its direction to Input, and name it after what it holds — "Contract PDF,"
"Invoice," "Loan Agreement."
2.2
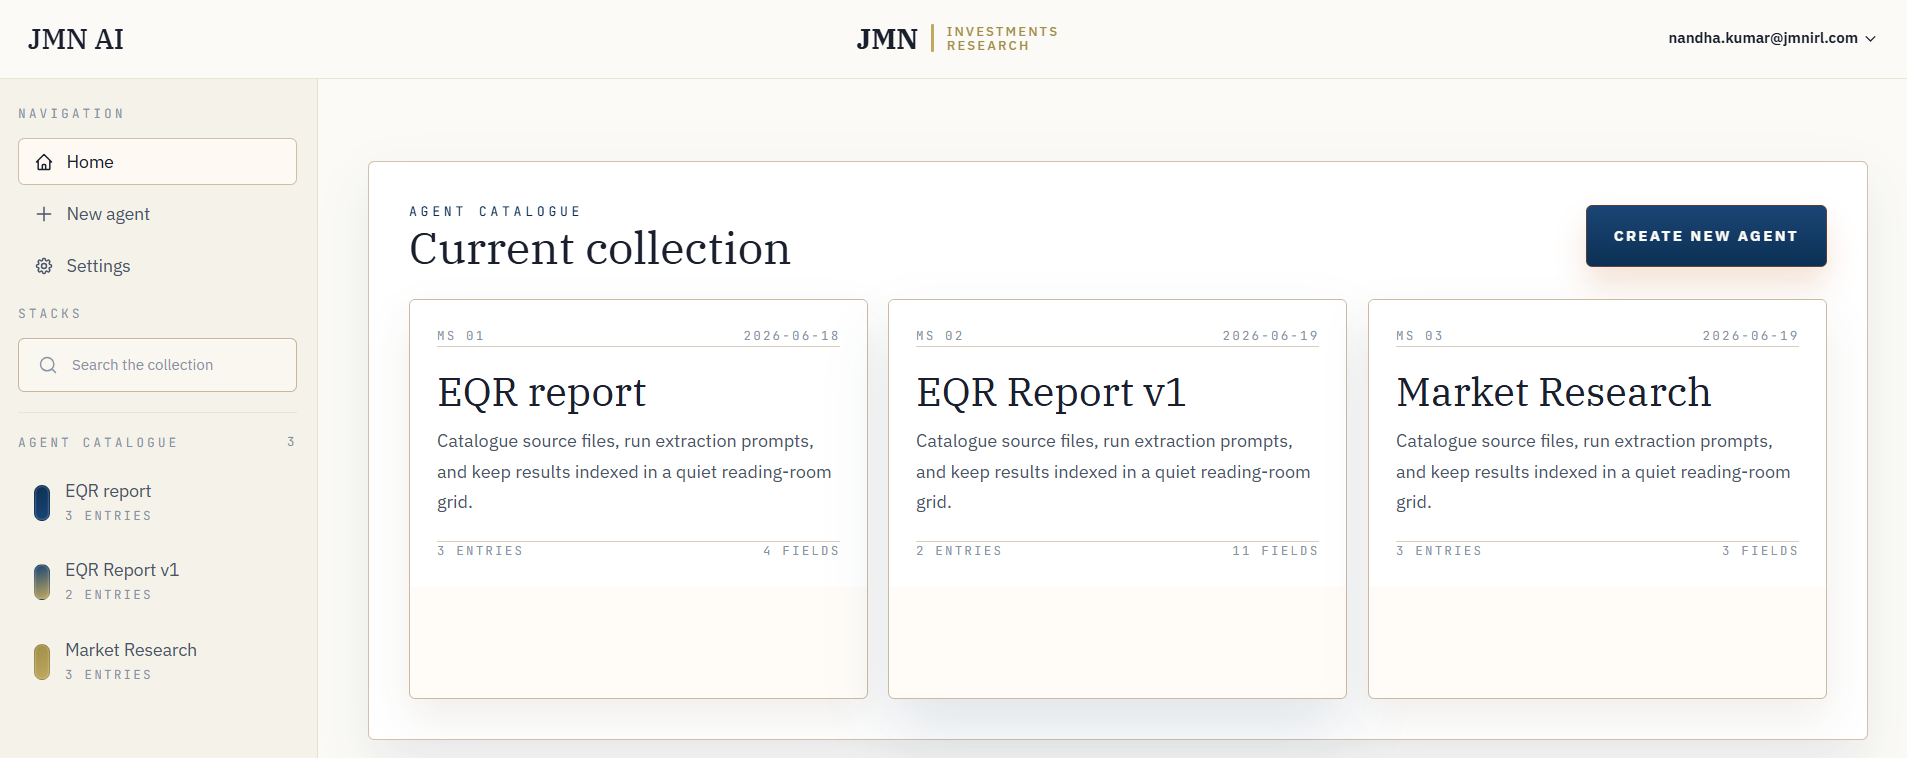
FIG. 2.2 — A fresh agent, no properties yet.
-
Upload a file
Add a row, then drag a PDF onto the input cell. It ingests in the background — extracted,
chunked, and embedded — and the cell's status badge moves from queued to processing to done.
2.3
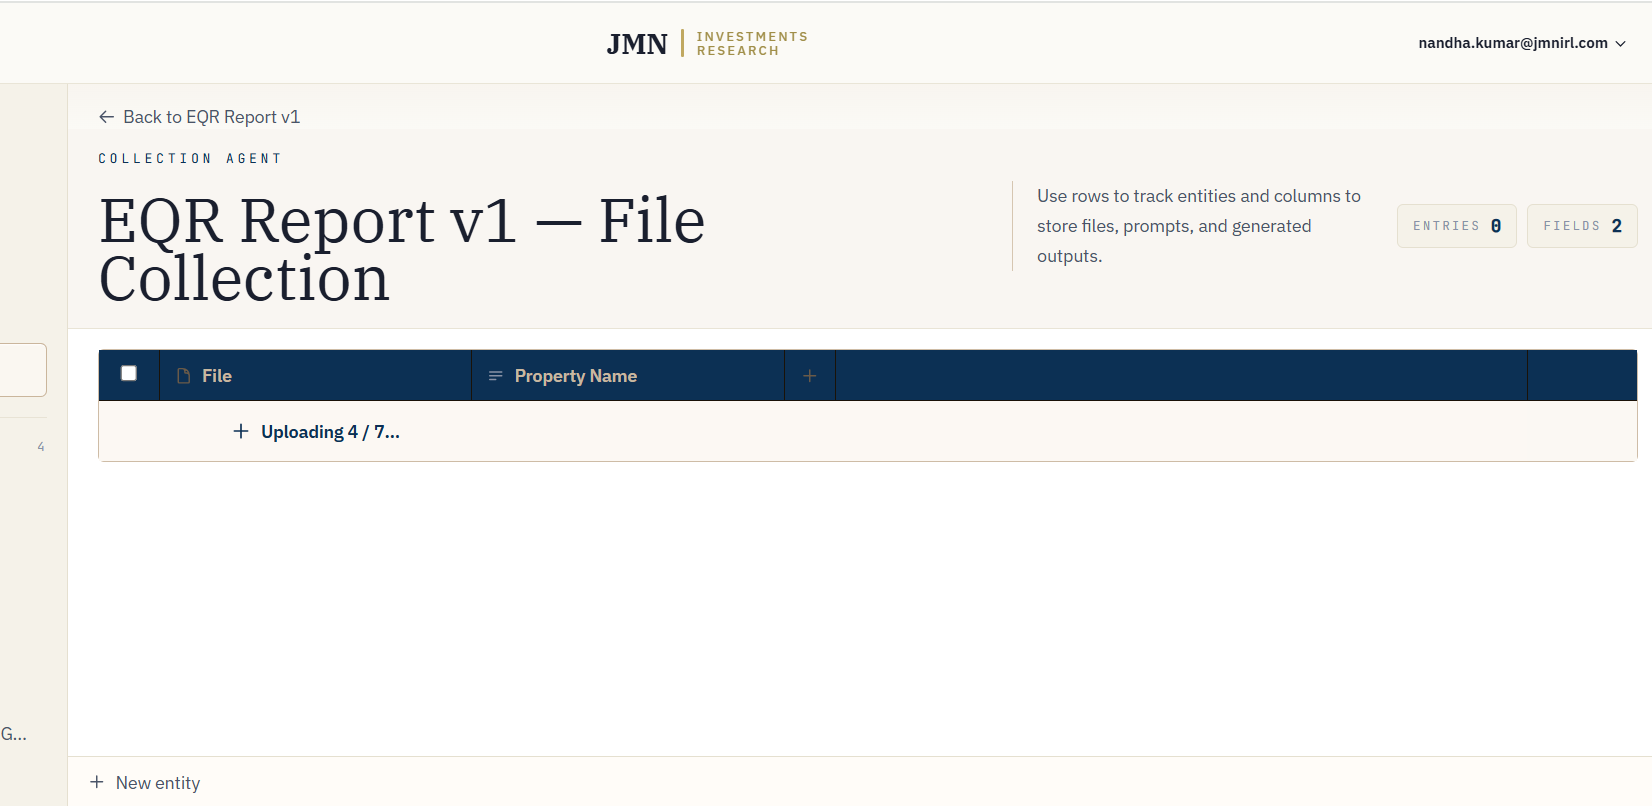
FIG. 2.3 — Uploading and ingesting a file.
-
Add an output property
Add a second property, set its direction to Output, choose an output
type (start with Text), and write a prompt that references your input
column by name — e.g.
@Contract PDF — what is the termination notice period?2.4
FIG. 2.4 — Writing the first prompt.
- Run the cell Click the cell to run it. While it's working the cell shows a generating state; this happens in the background, so you can keep working elsewhere in the grid.
-
Read the result
The finished cell shows the answer with small numbered citation markers. Click one to
jump straight to the exact passage in the source PDF that the answer came from.
2.5

FIG. 2.5 — A grounded result, ready to click into.
Tip
Add a few more rows and the prompt you just wrote runs against each of them with no extra setup. This is the entire point of building it as a column instead of asking once in a chat window.